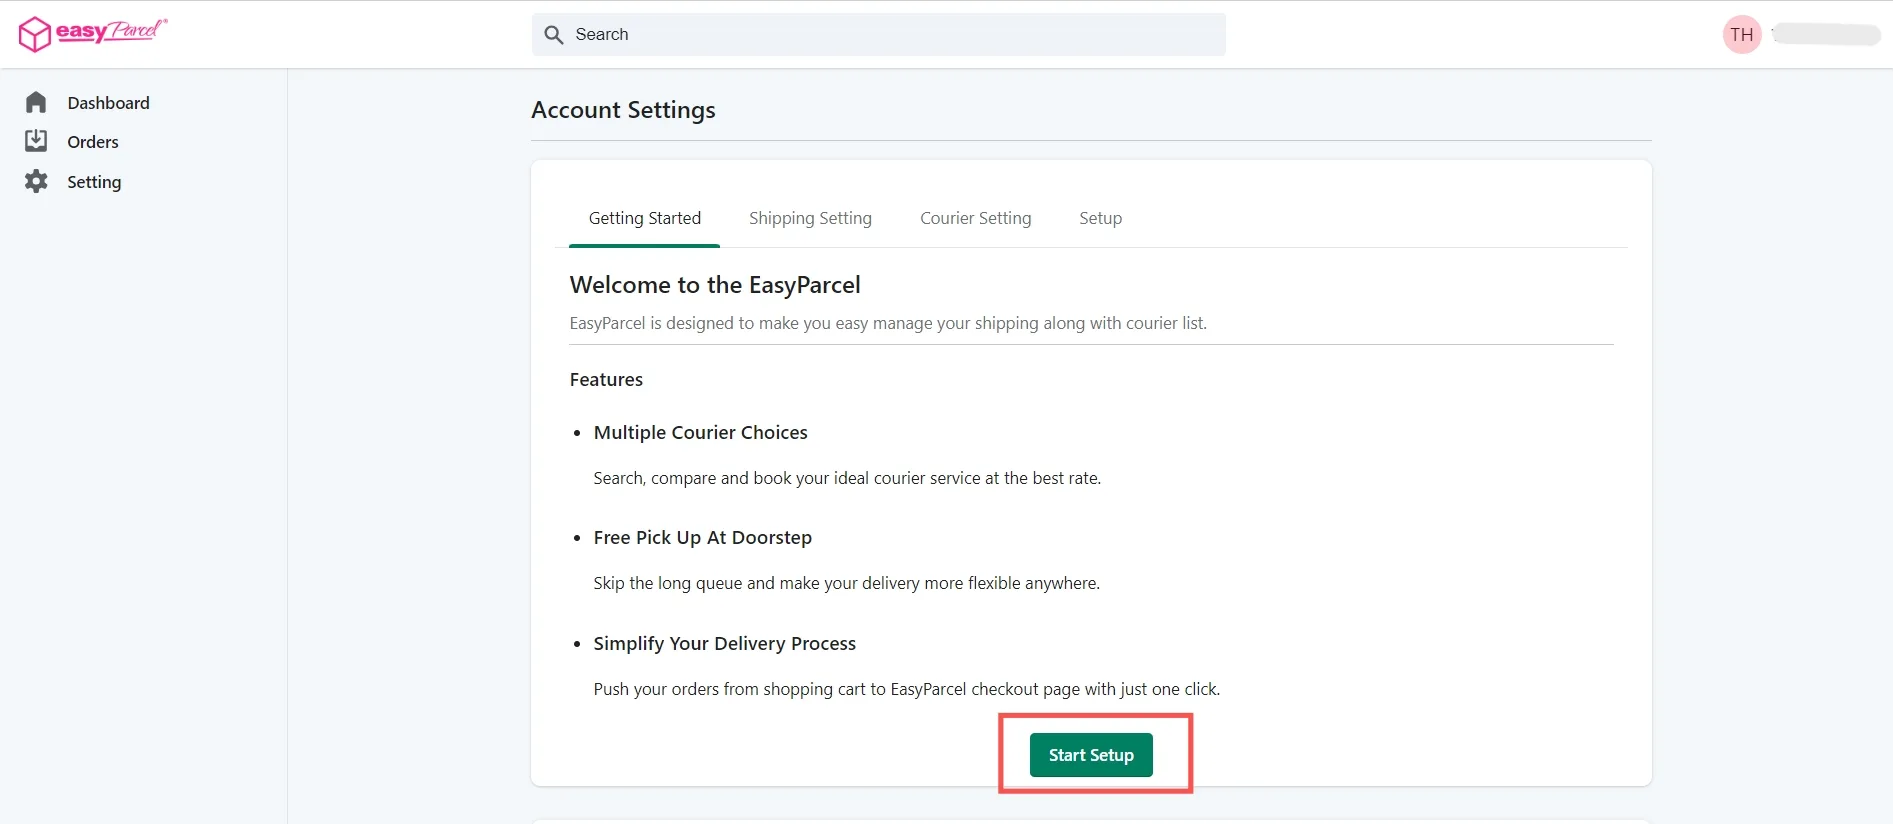
How to Enable Auto Update Order Status and Tracking Info After Fulfillment
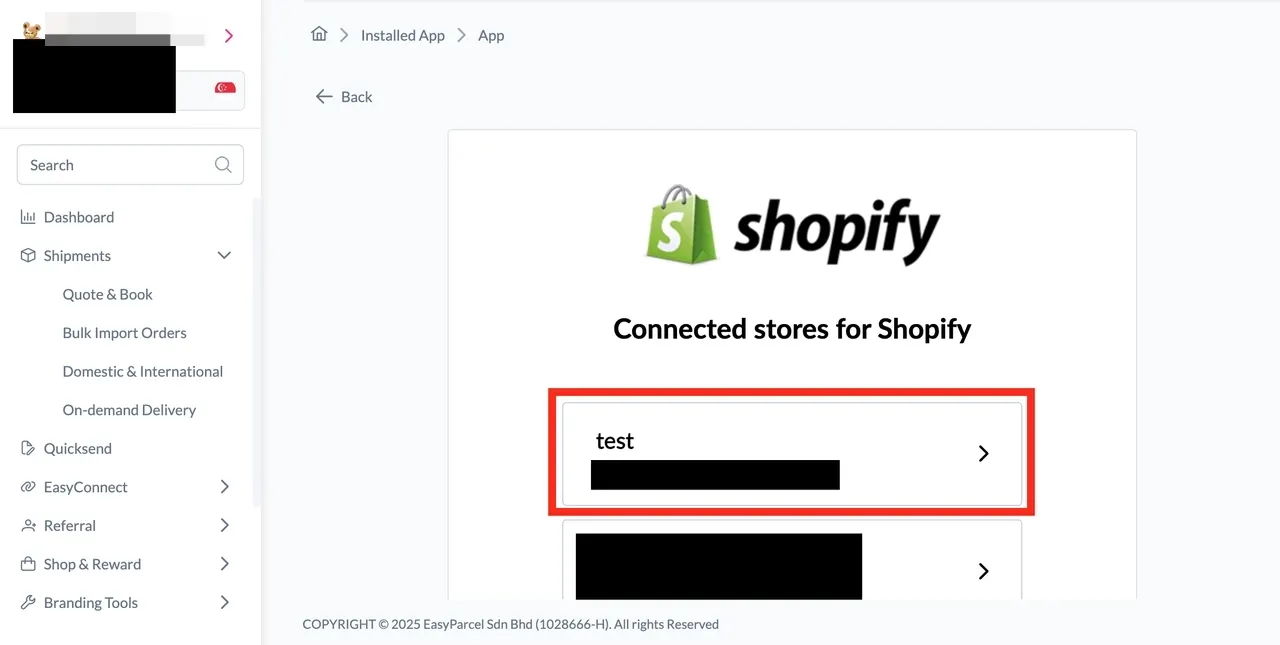
How to Enable Auto Update
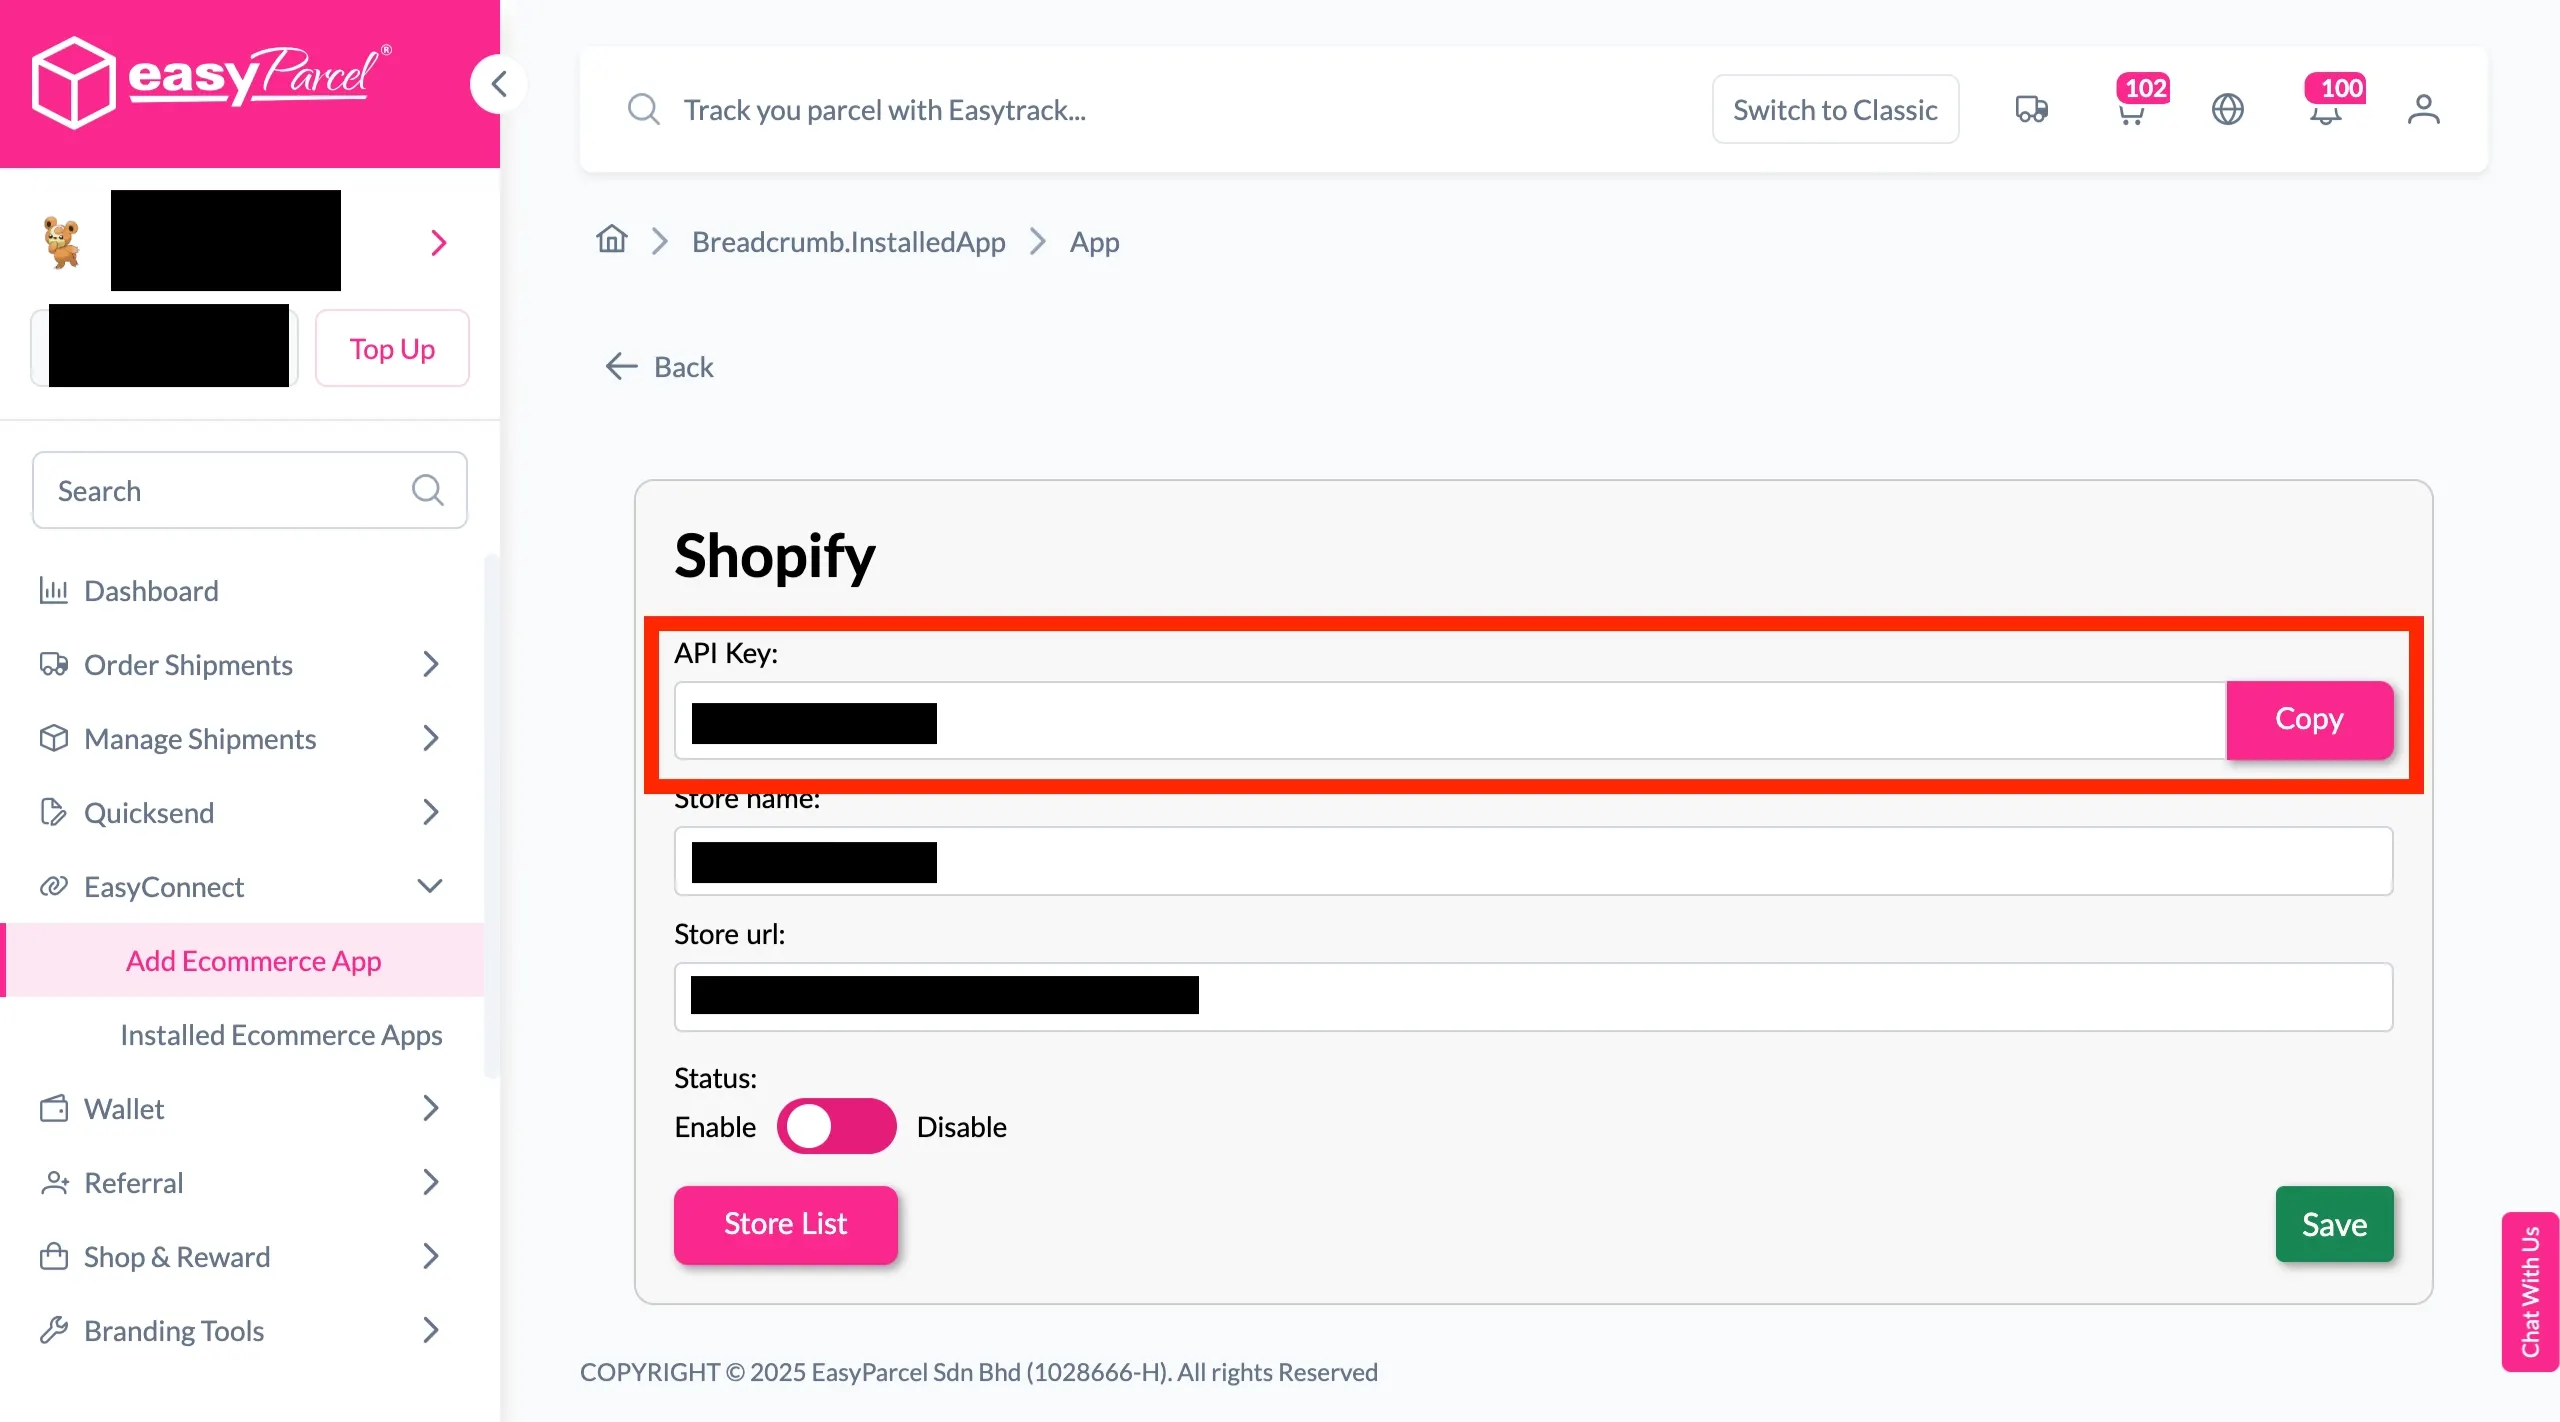
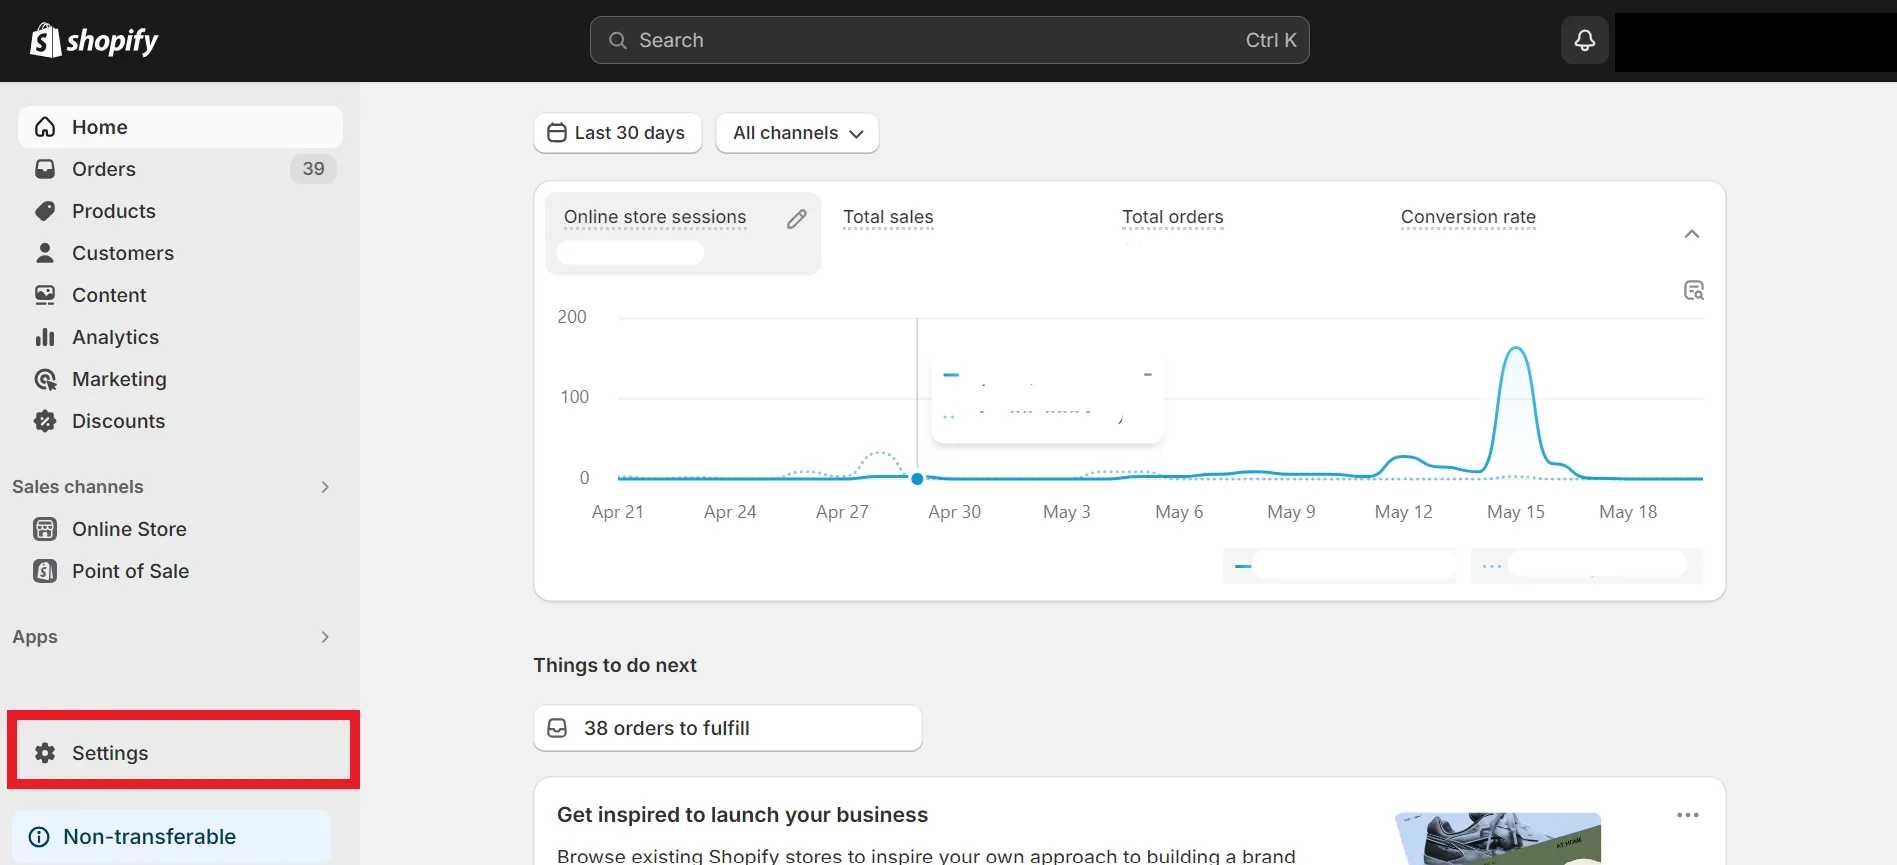
Step 2: In the “Settings” tab, scroll down to Settings section.
Step 3: Choose “Yes” from the “Auto order status update” select list.
Step 4: Click “Enable” to enable the setting.
Step 5: Finally, click “Update” to apply the changes.
Fulfillment
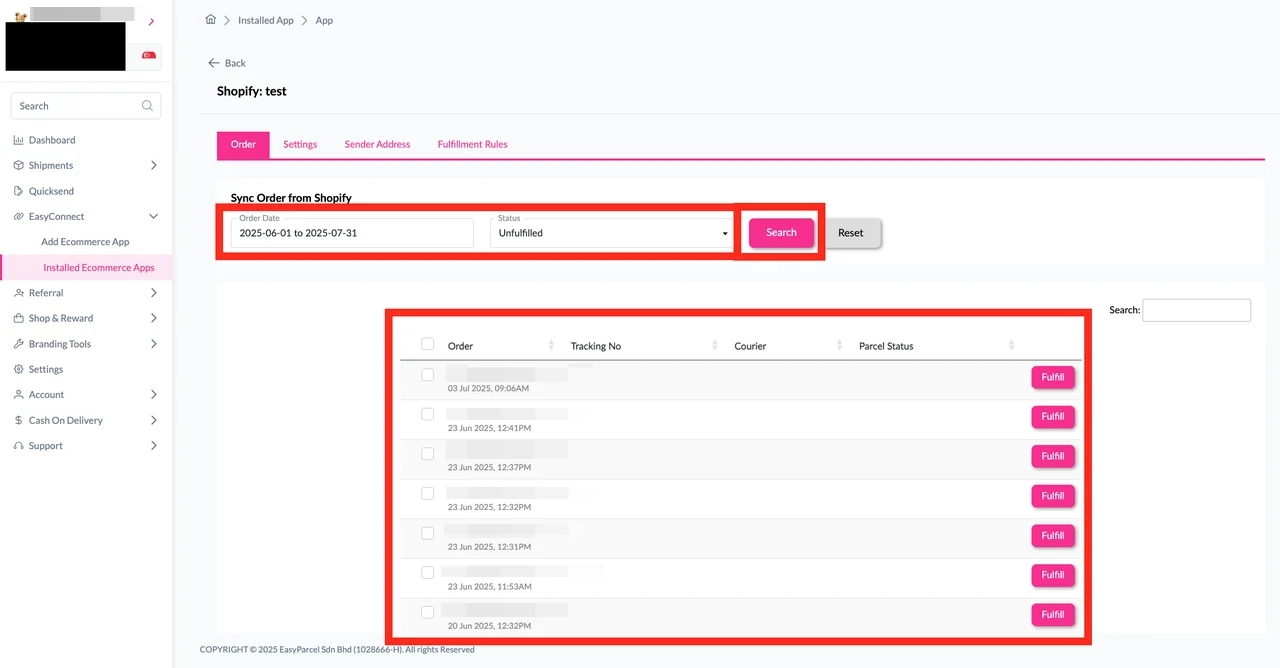
Step 1: Go to the “Order” tab, click the “Fulfill” button on the order you wish to fulfill. You will be redirected to the order details page.
Step 2: On the order details page, ensure product and fulfillment details are correct, then click “Get Quote” to quote list of available courier services for the order selected.
Step 3: A list of courier services will be displayed. Select your preferred courier services, apply coupons or add-on services if any. Then click “Proceed to Payment” to complete the fulfillment.
Step 4: After fulfilled successfully, the order status will be changed to Fulfilled, and the tracking number, URL and courier name will be updated back to the fulfilled order in the Shopify.